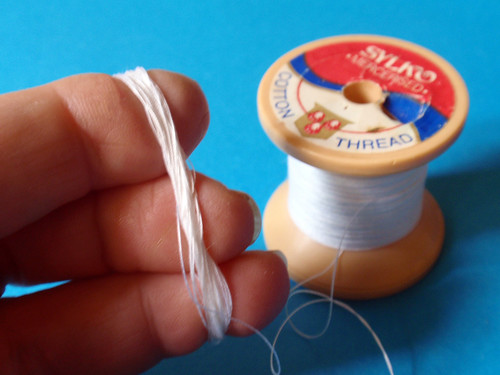
Wrap a length of white cotton thread round 3 fingers about 30 times.
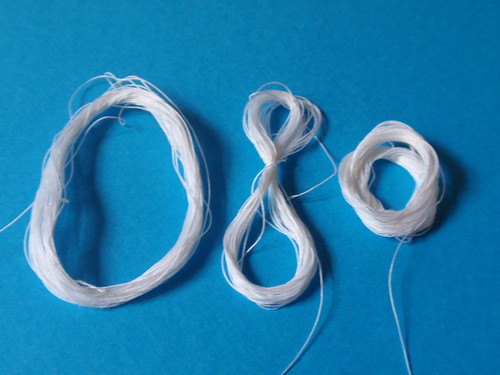
Twist cotton to make into a shape of an 8 and fold into 2 loops.
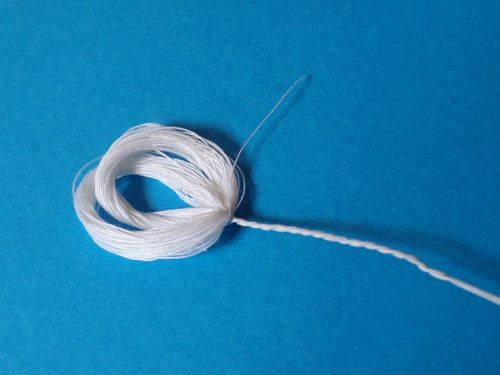
Push 28 gauge wire cut into 3 through the loop and twist tightly to fasten the loop.
Tape using half width white tape starting from just above the twist. This will help keeping the stamens together.
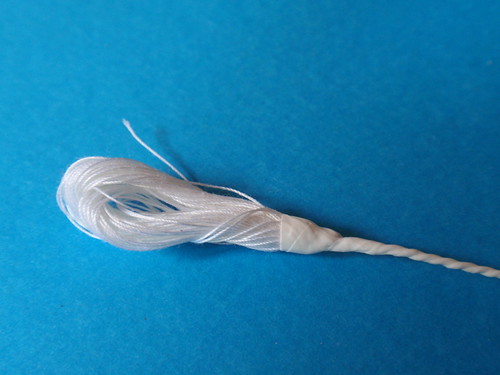
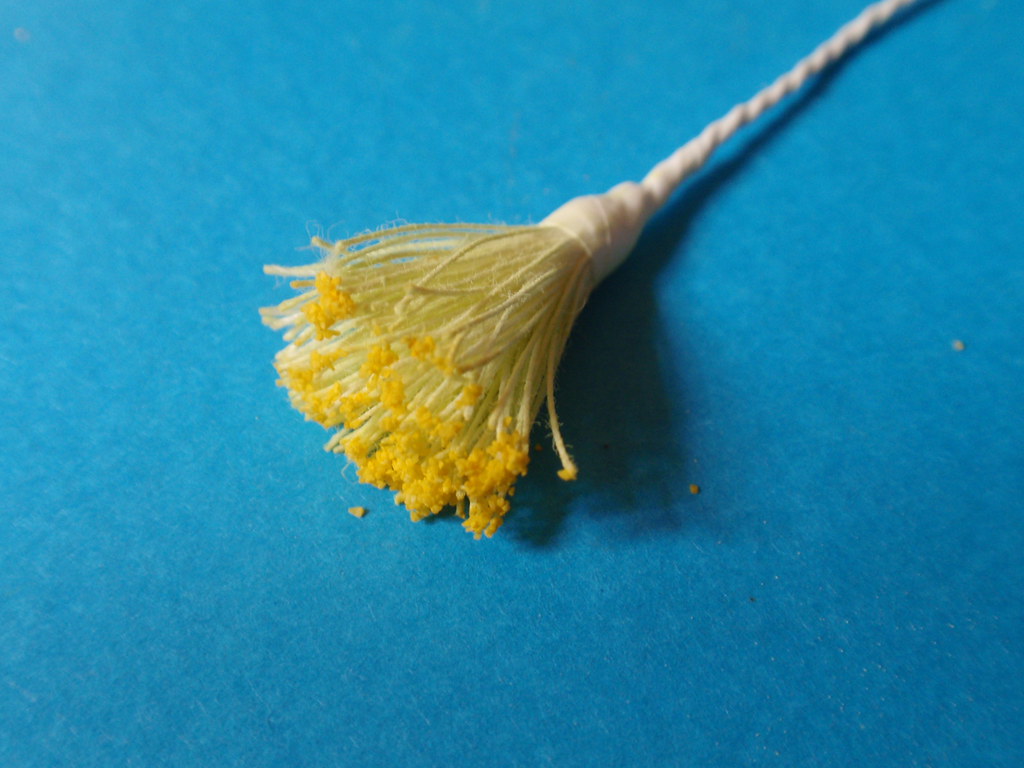
Cut through the top loop and trim to about 1cm.

Dust with light green dusting powder.
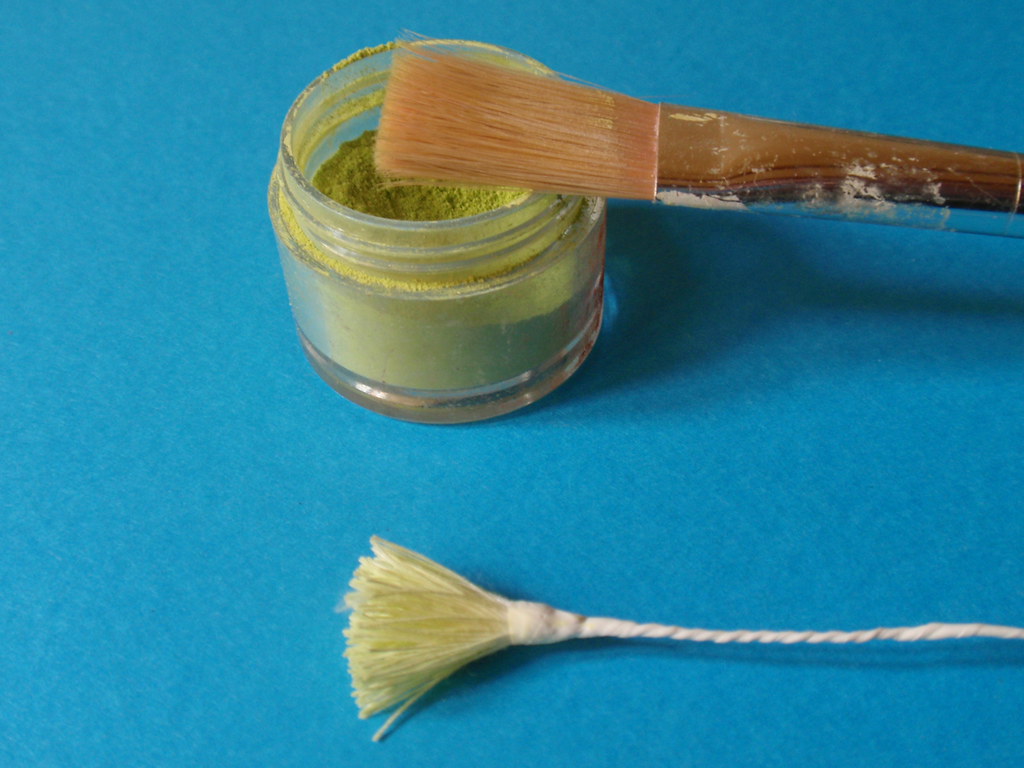
Brush the tip of the stamens with edible glue and dip in sugartex (or other edible pollen).
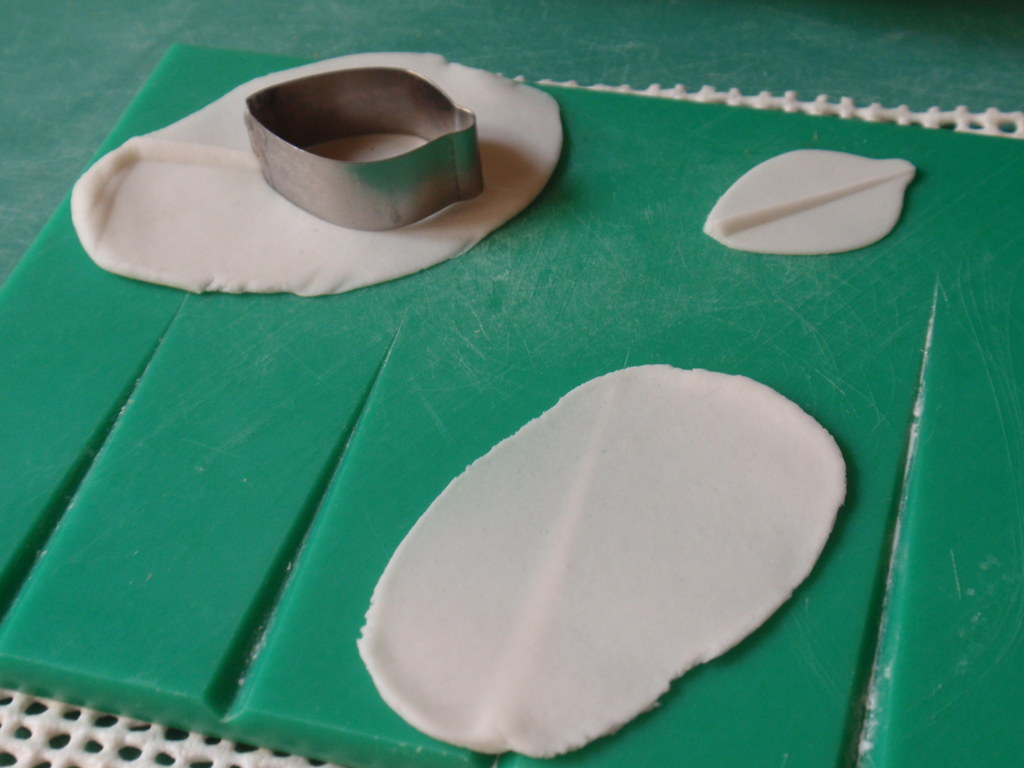
Petals
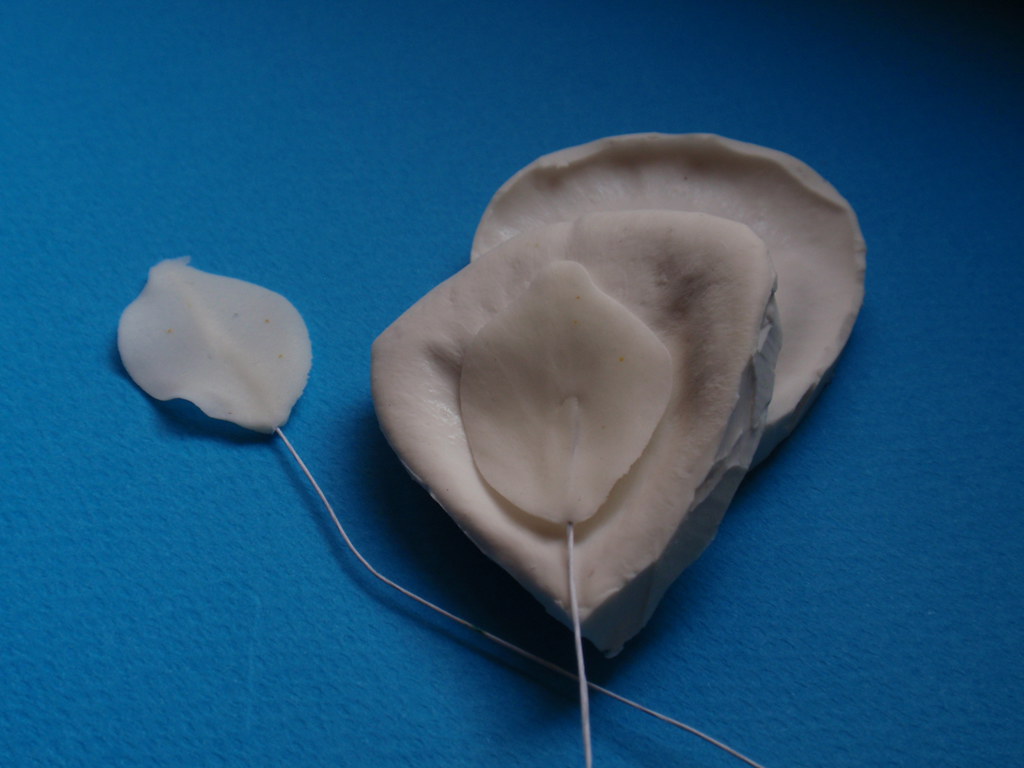
Roll out a small piece of white flower paste on a ridged board. Turn over and cut out the petal with the “node” end at the thin edge of the ridge.
Insert 28gauge wire cut in 3, half way up the petal through the thick end of the ridge. Thin the edges using a ball tool on a cel pad.
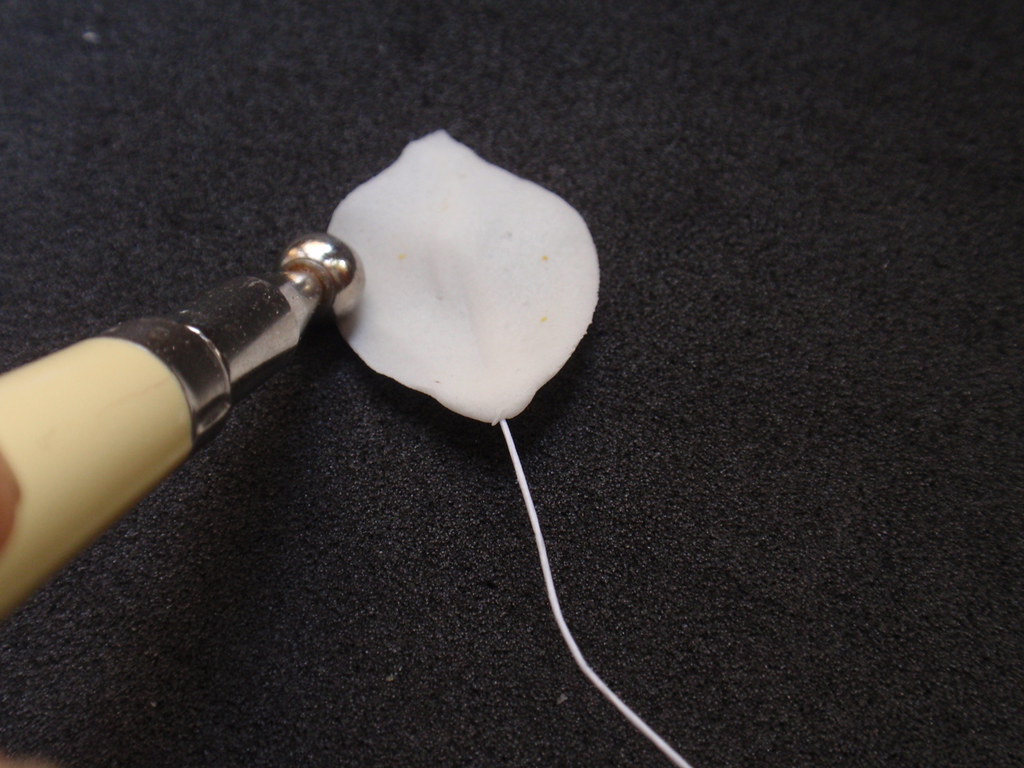
Vein the petal using a rose veiner. Make sure that the middle ridge is flattened.
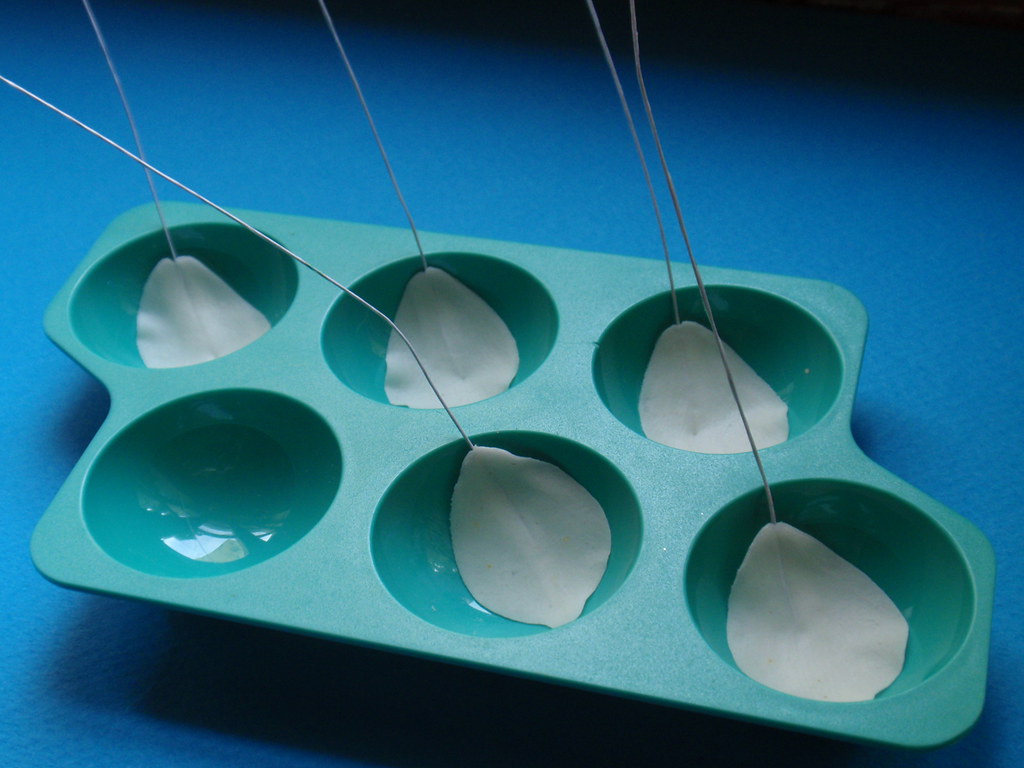
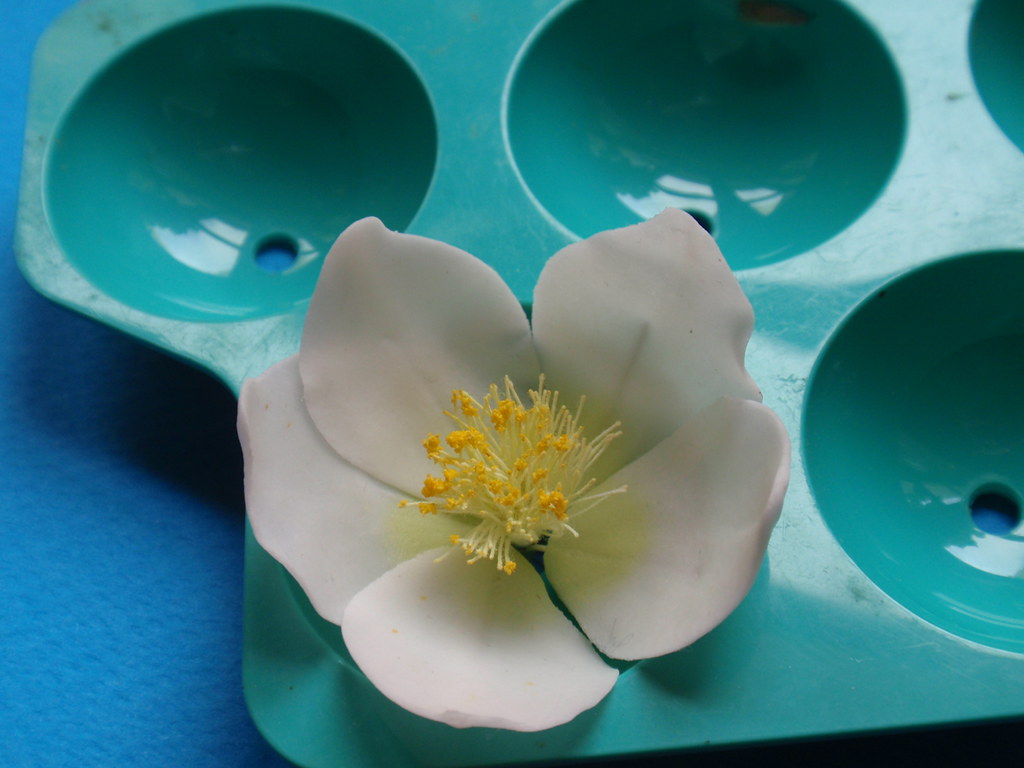
Make 5 petals. Place all the petals in an egg tray or something similar to cup the petals and give them shape. Leave till the petals are almost dry.
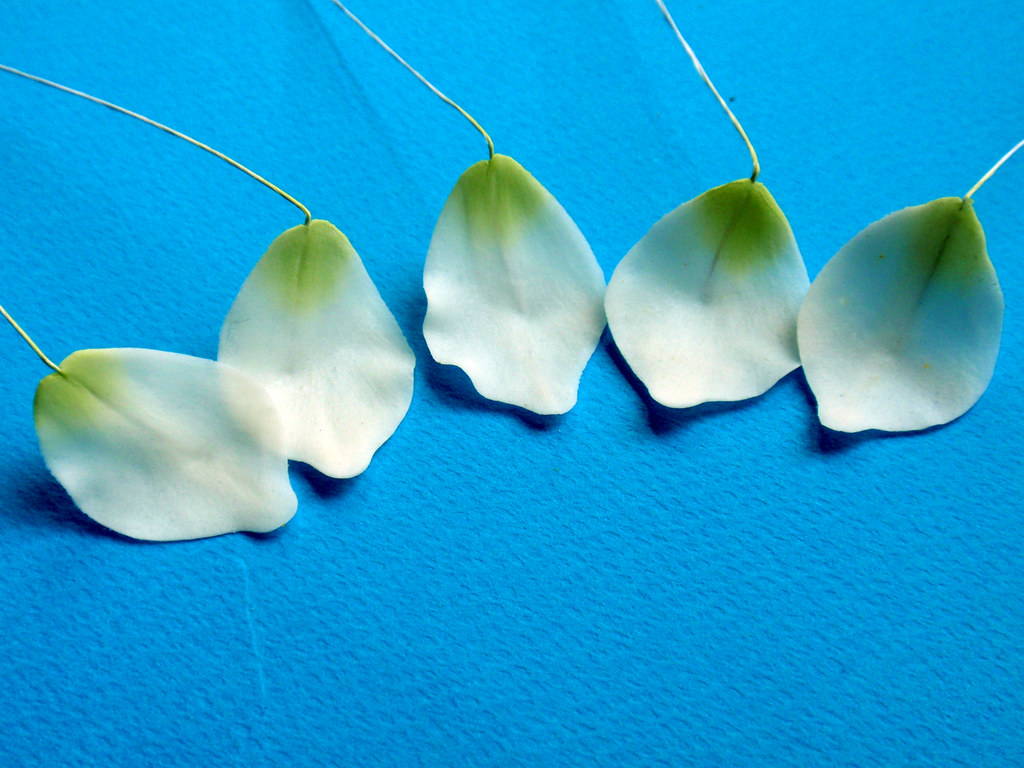
Brush the bottom back and front of each petal with light green (Orchid white) dusting powder. Steam to fix the colour.
Assemble the petals. Tape a petal at a rime round the stamens and tape to the bottom of the wire when all five petals are in place.
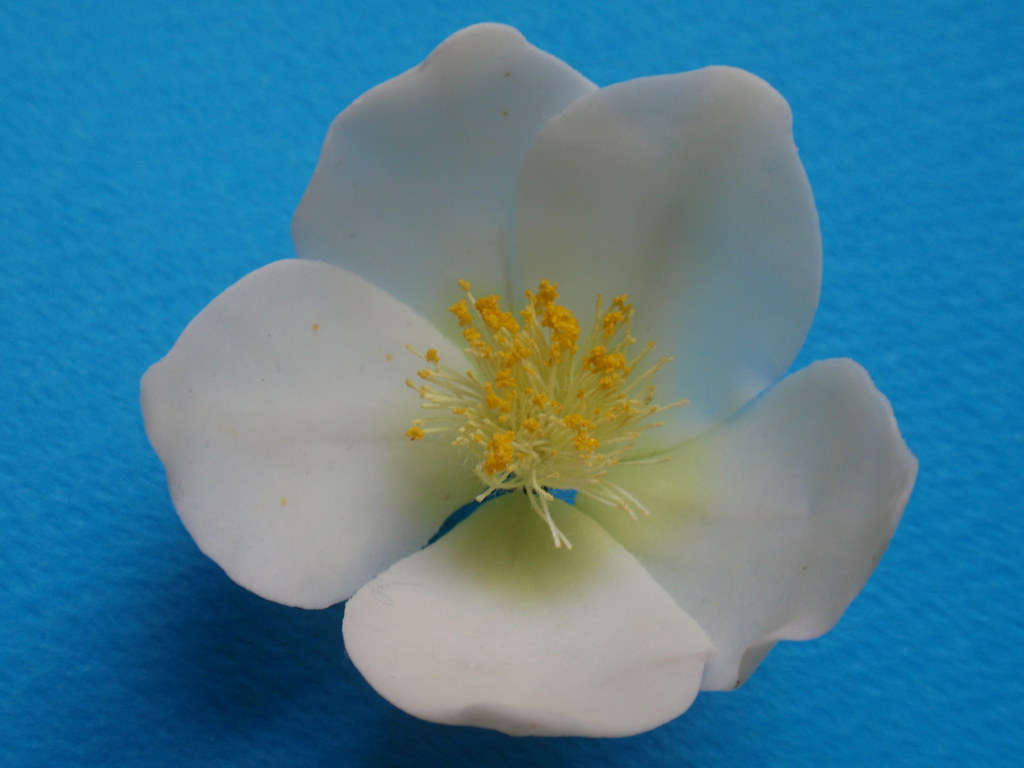
Place in a former and leave to dry completely.

2 comments:
I love your tutorials. Where did you find your ridged board that you make your petals with? You can email me at amys_sweet_memories@yahoo.com.
Thanks
Many thanks for the great tutorial!! It's very helpful. I hope you don't mind that I have added a link to your tutorial on my website! If you don't want it, please contact me. You can find the link below:
http://floralilie.jimdo.com/english/links/sugar-art/
All the best
Tina
Post a Comment