29 December 2008

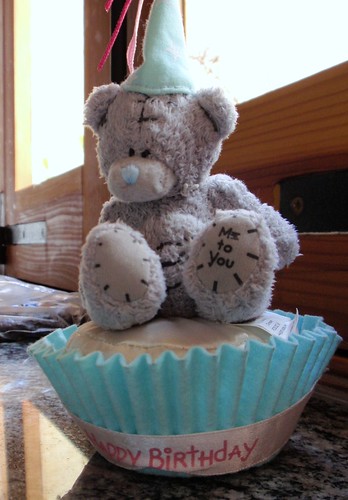
"Me to You" teddy bear cake

"Me to You" teddy bear cake
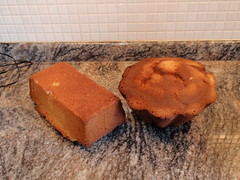
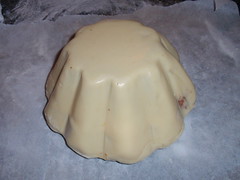
I was asked to make a "Me to You" Teddybear sitting on a cupcake. This had to be a cake so I decided to bake a cake in a fluted pyrex trifle bowl. I used a 9" mix and filled the bowl quite high so I get a nice rounded top.


"Me to You" teddy bear cake
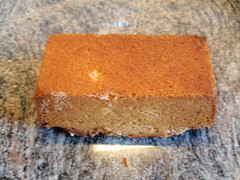
For the teddy bear, I baked a 8" cake in a loaf tin.


"Me to You" teddy bear cake
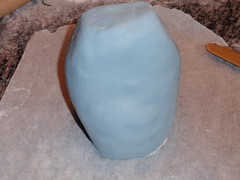
Loaf tin cake and cupcake shaped cake.

"Me to You" teddy bear cake
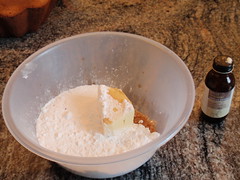
Buttercream mix.
200 gms icing sugar
100 gms unsalted butter
1tsp. vanilla extract.
All at room temperature


"Me to You" teddy bear cake
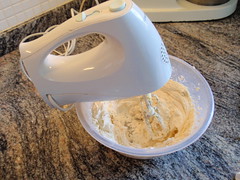
Icing sugar, butter and vanilla all mixed together.


"Me to You" teddy bear cake
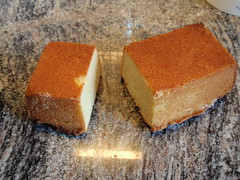
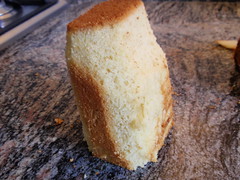
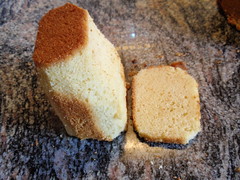
A third of the loaf tin cake was cut. this third is the head, the rest was the body. The small bit was put aside.


"Me to You" teddy bear cake
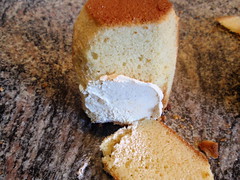
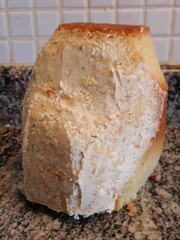
The large part of the cake was shaped for the neck, shoulder and stomach.


"Me to You" teddy bear cake
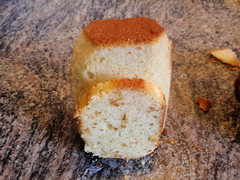
Half an inch slice was taken from the bottom. This was used to make the belly rounder.


"Me to You" teddy bear cake
The front bottom part was buttercreamed to attach the slice for the belly.


"Me to You" teddy bear cake
The slice was attached


"Me to You" teddy bear cake
The slice shaped to contour the belly.


"Me to You" teddy bear cake
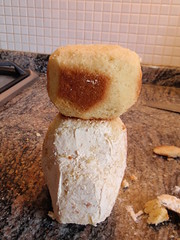
The head measured against the body to check for size.


"Me to You" teddy bear cake
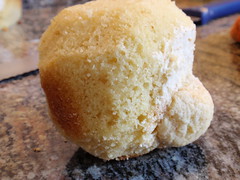
Some of the trimmings were mixed with buttercream and shaped like a muzzle and attached to the bottom of the head to make the muzzle.


"Me to You" teddy bear cake
Body buttercreamed before sugarpasting.


"Me to You" teddy bear cake
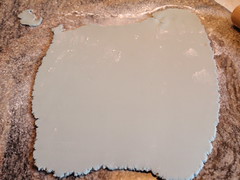
Grey blue sugarpaste rolled out to cover the body of the teddy bear.


"Me to You" teddy bear cake
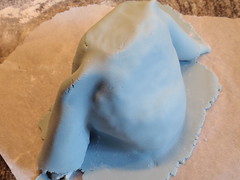
The body is covered with the sugarpaste. The excess sugarpaste is gathered on each side of the body. This excess is trimmed and neatened.


"Me to You" teddy bear cake
Body smoothened and sides neatened.


"Me to You" teddy bear cake
Embroidery scissors were used to nip the sugarpaste to give the fur effect.


"Me to You" teddy bear cake
Head covered, nipped, ears added and muzzle covered in plain sugarpaste. Legs made out of sugarpaste and nipped. The bottom of the legs left plain.


"Me to You" teddy bear cake
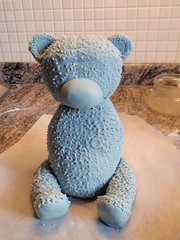
Arms made using sugar paste and nipped. a bit of blue sugarpaste added to the muzzle. Eyes made out of black sugarpaste. Patches drawn using black liquid colour.


"Me to You" teddy bear cake
Cake torted, buttercreamed and marzipanned.


"Me to You" teddy bear cake
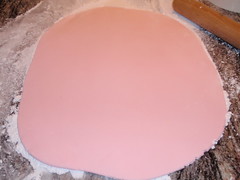
For the cup cake. Pink sugarpaste rolled out.


"Me to You" teddy bear cake
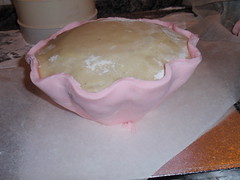
Pink sugarpaste added to the marzipanned cake.


"Me to You" teddy bear cake
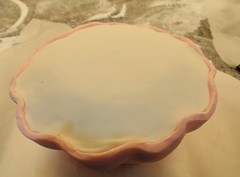
White sugarpaste added to the top of the cupcake.


"Me to You" teddy bear cake
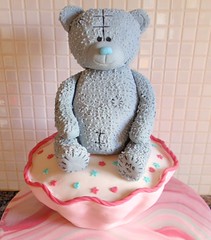
Board marbled, Top trimmed using rope extruded from a clay gun. Confetti stars and heart added. Teddy bear placed on top.

12 December 2008

Me to you cupcake cake


Me to you cupcake cake, originally uploaded by a matter of taste.

This is the cake I have to make next week. Well I never attempted a cupcake cake and I have seen a few on the internet. I was not impressed. I would love to get the pleated effect but I do not have a clue where to start. Perhaps some of you might help.

Gingerbread dough

We have got a workshop for children aged between 7 and 10 tomorrow, so we thought it was a good idea to include gingerbread men, women, house and other things as part of the fun. I have tried many recipes but did not like the pastry when I tried to roll it out. I have watched Rachel Allen on UKtv Food making a gingerbread house and liked the way the pastry behaved. So I thought I would try that out. I shall give you the outcome on how it behaved when I post pictures of children making the gingerbread men.

Recipe is taken from Rachel Allen "Bake" http://uktv.co.uk/food/recipe/aid/610040

Ingredients
300g Butter
125g caster sugar
125g soft brown sugar
225g treacle, or golden syrup
725g plain flour
2 tsp Bicarbonate of soda
3 tsp ground ginger
1 tsp ground cinnamon


PC120001

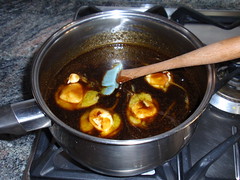
Melt the butter, caster sugar, brown sugar and treacle in a large saucepan

PC120004

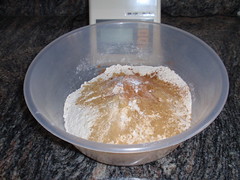
Sift the flour, bicarbonate of soda, ginger and cinnamon together

PC120005
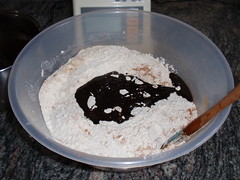
Make a well in the middle of the flour and spice and add the melted butter and sugar mixture.

PC120006

Stir well until it comes together like sticky dough.

PC120007

Flatten the dough into a 2cm thick round, put in plastic bag and place in the fridge for 30 minutes.

09 December 2008

Train cookies Tutorial

Train cookies tutorial
This was an order placed at 9.00 pm one evening and had to be finished by the next day.
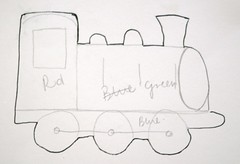
I did not have a train cookie cutter, so I had to start from scratch. I found a good image of a train which I copied and took an outline. I also decided on the colours. I decided afterwards that I would swap the colours for each individual cookie so no one cookie would look the same.
Train cookies tutorial
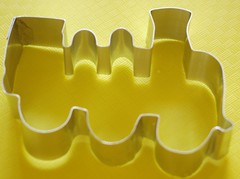
I was lucky enough to have some strips of aluminium which I had for a while but never dared use. I was pleasantly surprised how easy it is to make a cookie cutter.
This took me about 10 minutes to put together.
Train cookies tutorial
The cookie cutter was quite large so I needed to roll the cookie dough slightly thicker than normal as otherwise the biscuit would snap very easily once baked.
I always use Nigella Lawson's cookie recipe. I have tried many recipes but found that this one keeps nice and crisp and it never loses its shape. I did change the amount of eggs used as the first few tries at making the dough, it turned out quite soggy. I have put the recipe on the British Sugarcraft Guild message board. www.bsguk.org/forum/viewtopic.php?t=5330&highlight=bi...
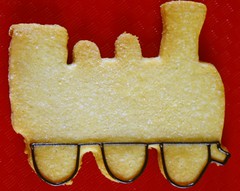
Train cookies tutorial
I made royal icing using egg whites. I use a proportion of the weight of an egg to six times this weight of icing sugar. I had 50 cookies to make, so I weighed 6 egg whites and then did six times that in icing sugar.

This is beaten to full peak. Black powder (House of Sugar) is added to a couple of spoonfuls of the icing which is then paddled to get rid of the air bubbles, added just 2 drops of water to make it into piping consistency and put in a piping bag with a no. 2 (PME) nozzle.
I piped round the edges of the wheels and the bottom of the train.
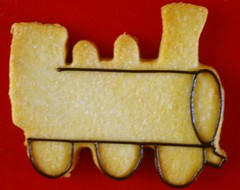
Train cookies tutorial
I continued piping the outline round the engine. It is a good sense to have an idea beforehand of the lines you need to pipe. I usually draw the outline of the cookie cutter on a piece of paper and drraw the piping lines.
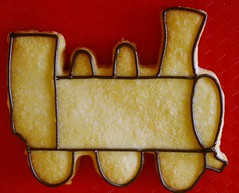
Train cookies tutorial
I continued with the piping of the edges and separating the compartment and funnels.
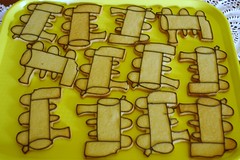
Train cookies tutorial
These are the completed outlines of some of the cookies.
Train cookies tutorial
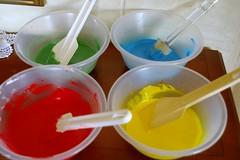
I put aside about a cupful of full peaked royal icing for inscription and embellishments. I added water a little at a time to the rest of the royal icing and stirred it till I got "double cream" consistency. The icing should not be runny otherwise it will overflow the outline. With practice and experience, you will be able to determine the right consistency to use. One method I was taught, was to make a trail of the icing and if it settles at the count of ten, it is ok to use. I never liked this method because it depends on how quickly one counts to ten.

I divided the batch of run out icing into 4 separate bowls and coloured the batches with green, blue, red and yellow colourings. I also needed black but did not mix it at that time. Black colour is made up of all the other colours so I intended mixing all the left over from all the colours to make black later on.
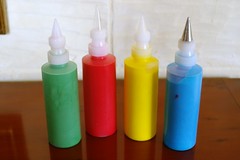
Train cookies tutorial
I filled up the squeeze bottles with the colours. I tend to pour the icing straight from the bowl. Again practice is needed and I now manage to direct the icing straight into the bottles and not everywhere else.
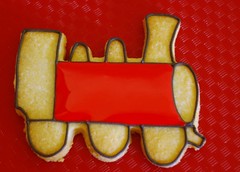
Train cookies tutorial
The first colour is applied. I did the middle part of the engine first in red then left the icing to dry. I like to see a shine on the icing so I put the cookies on a very low oven at 40 deg C. This helps to dry the the icing and also makes the cookie crisp again if it has softened slightly.
Train cookies tutorial
Once the red is dried (or at least a good skin has formed) I filled the adjacent areas with green, blue and yellow.
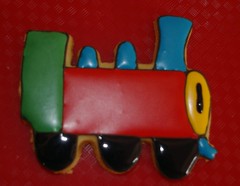
Train cookies tutorial
These colours were again left to dry and in the meantime, I used all the left over colours, apart from the yellow, to mix together to get the black. A little bit of black colour was added to make it more intense. I piped the wheels in black.
Train cookies tutorial
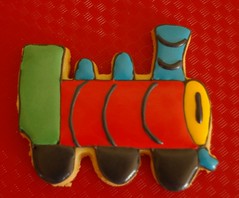
With the same run out consistency, I piped the curves round the engine, round the funnel and the front of the engine. I must say, I was being lazy here as I should have used black in piping consistency in a piping bag but this worked out ok even though it could have looked better.
Train cookies tutorial
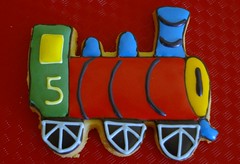
Here, I outlined the window and flooded the window in yellow. I also piped the wheels in grey piping consistency icing using 1.5 (PME) nozzle. The number 5 is the age of the child and this was piped in yellow and 1.5 (PME) nozzle.
Train cookies tutorial
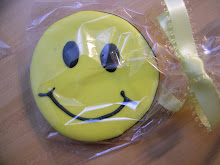
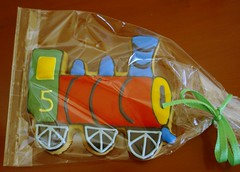
Once all the cookies were completely dried and cooled, they were bagged in polypropene bags and tied with 3mm ribbon. I have used different coloured ribbon for the cookies.

I must say, I was quite pleased with the outcome and the customer was most amazed that I could produce such cookies at such short notice.
08 December 2008

Christmas market at Nadur

I had the most enjoyable 4 days taking part in the fund raising to improve the appearance of the Nadur square.

We took part in the Nadur Christmas market and decided to have a cakes, cookies and drinks stall. My brother supplied us with gateaux, cakes, doughnuts and muffins. My brother-in-law, with biscuits, honey rings and choc chip cookies. We were also supplied with 2 coffee machines and also decided to prepare some mulled wine. We also baked loads and loads of mince pies and chocolate truffles.

This is the first time we did this so the preparation was horrendous. We wanted to make sure that everything was well organised. But full marks to my collegues and there was nothing that we could have done better.

We worked solid from Friday till Monday but we also had very high spirits. We sang and danced all the time even when serving people. All the husbands (apart from mine) where always there to give a hand and fetch and carry.

The people kept coming and by Sunday at 4.00 pm we ran out of most of the things. People tried our cakes and kept coming for more. They were most disappointed when we told them that we ran out of things.

Well my biggest thanks to the most wonderful ladies who gave up their time just to be there. Also to the husbands (including mine) who were there with us all the time. A big thank you to my Joe (my brother-in-law) who brought the goodies in a freezer van and stayed with us all four days. Thanks also to Worldwide who provided all the gateaux and cakes and also to Elia caterers who provided the biscuits and honey rings. Everything was so delicious and fresh.

Nadur Christmas market draws crowds