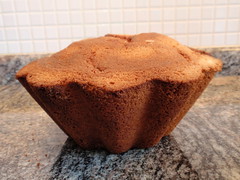
I was asked to make a "Me to You" Teddybear sitting on a cupcake. This had to be a cake so I decided to bake a cake in a fluted pyrex trifle bowl. I used a 9" mix and filled the bowl quite high so I get a nice rounded top.
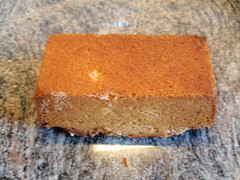
For the teddy bear, I baked a 8" cake in a loaf tin.
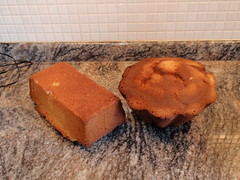
Loaf tin cake and cupcake shaped cake.
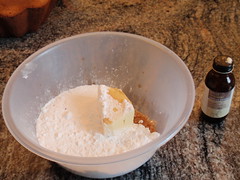
Buttercream mix.
200 gms icing sugar
100 gms unsalted butter
1tsp. vanilla extract.
All at room temperature
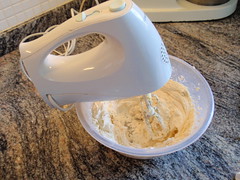
Icing sugar, butter and vanilla all mixed together.
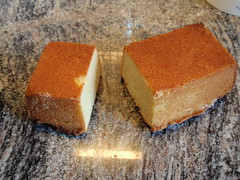
A third of the loaf tin cake was cut. this third is the head, the rest was the body. The small bit was put aside.
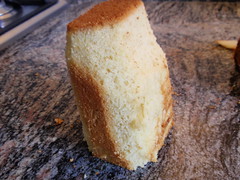
The large part of the cake was shaped for the neck, shoulder and stomach.
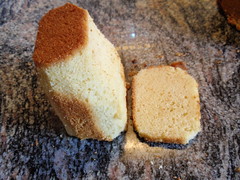
Half an inch slice was taken from the bottom. This was used to make the belly rounder.
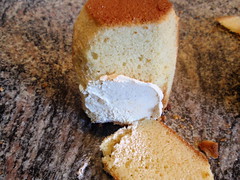
The front bottom part was buttercreamed to attach the slice for the belly.
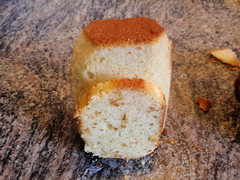
The slice was attached

The slice shaped to contour the belly.
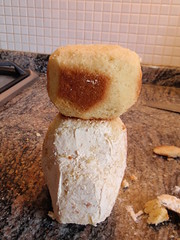
The head measured against the body to check for size.
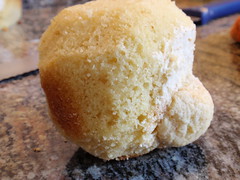
Some of the trimmings were mixed with buttercream and shaped like a muzzle and attached to the bottom of the head to make the muzzle.
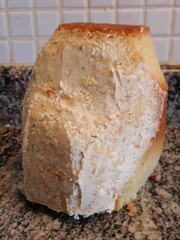
Body buttercreamed before sugarpasting.
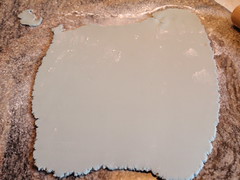
Grey blue sugarpaste rolled out to cover the body of the teddy bear.
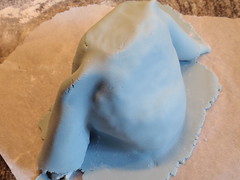
The body is covered with the sugarpaste. The excess sugarpaste is gathered on each side of the body. This excess is trimmed and neatened.
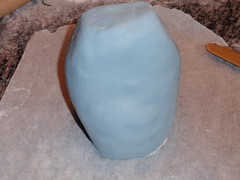
Body smoothened and sides neatened.

Embroidery scissors were used to nip the sugarpaste to give the fur effect.
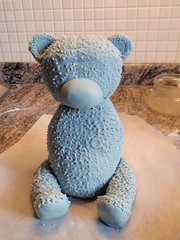
Head covered, nipped, ears added and muzzle covered in plain sugarpaste. Legs made out of sugarpaste and nipped. The bottom of the legs left plain.

Arms made using sugar paste and nipped. a bit of blue sugarpaste added to the muzzle. Eyes made out of black sugarpaste. Patches drawn using black liquid colour.
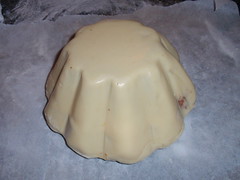
Cake torted, buttercreamed and marzipanned.
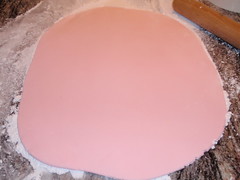
For the cup cake. Pink sugarpaste rolled out.
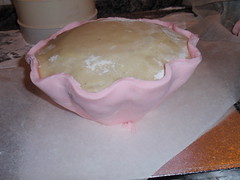
Pink sugarpaste added to the marzipanned cake.
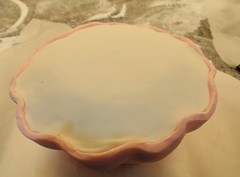
White sugarpaste added to the top of the cupcake.
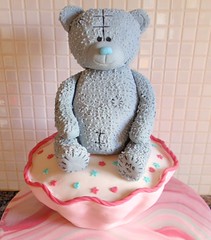
Board marbled, Top trimmed using rope extruded from a clay gun. Confetti stars and heart added. Teddy bear placed on top.
8 comments:
Ooh! He's stunning!
Woah, you are SO talented! I love the step by step photos too, and the bear is just too cute :)
this is amazing. Did you use any wodden sticks or something else to give the whole cake stability ? How do you transport this cake? its fragile.
Thank you Natalie. I do not use wooden sticks in children's cakes as this can be dangerous.
But yes I did use a plastic straw all the way down. The cake is not as fragile as it seems. I got to its destination in one piece.
Thank you so much for this tutorial...it's way above my skill but one day I'd like to give it a try....:O))
This cakes is super. A friend just ask me to make this birthday cake for her son. Thank you so much for sharing it with us.
This is brilliant! Great instructions, I just need an excuse to make it now! Can you just explain what you mean by "nipped" please - sorry if I'm being thick!
Post a Comment